Why and How
FIRST Robotics Competition is the world's preemenient high school robotics competition, engaging tens of thousands of students each year and teaching them both technical and leadership skills. I was lucky and skilled enough to serve as head of my team during 12th grade, and I learned a lot from it. I think it's a valuable and important program, and I wanted to contribute by volunteering as a Master of Ceremonies (MC), a role that involves speaking in front of hundreds of people and running opening and closing ceremonies, alliance selection, and matches, all while building the audience's excitement and anticipation.
Getting Started
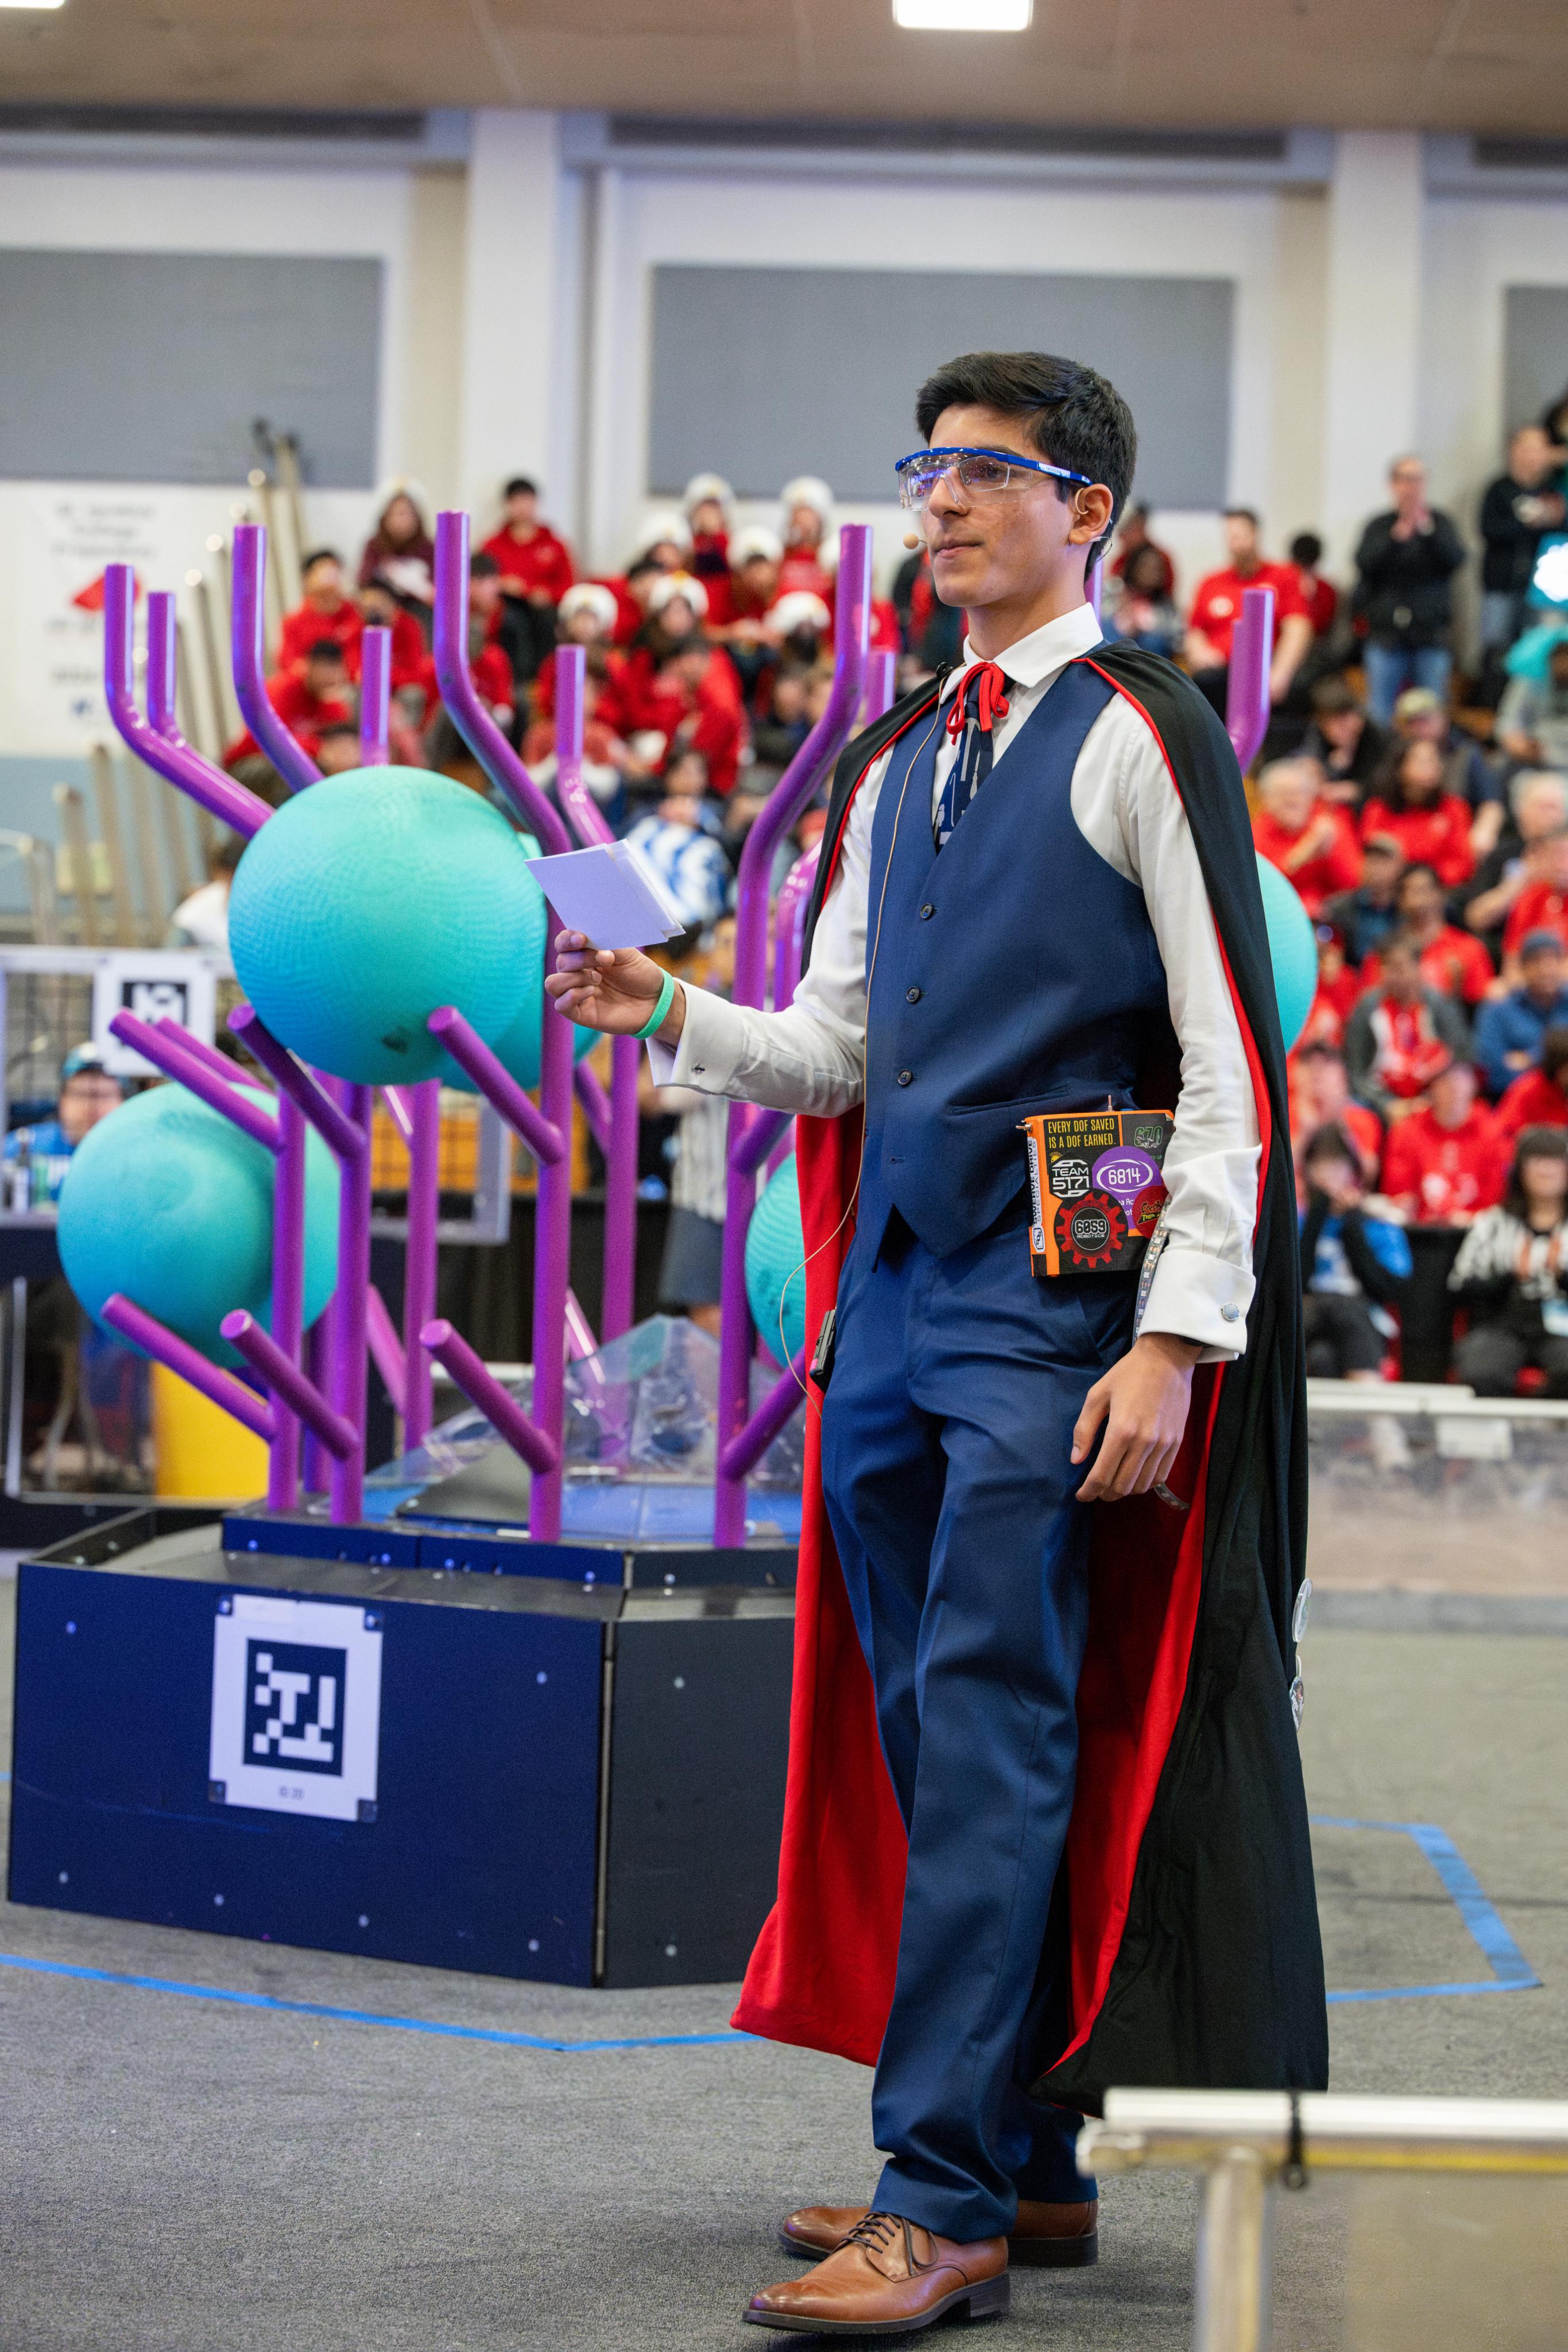
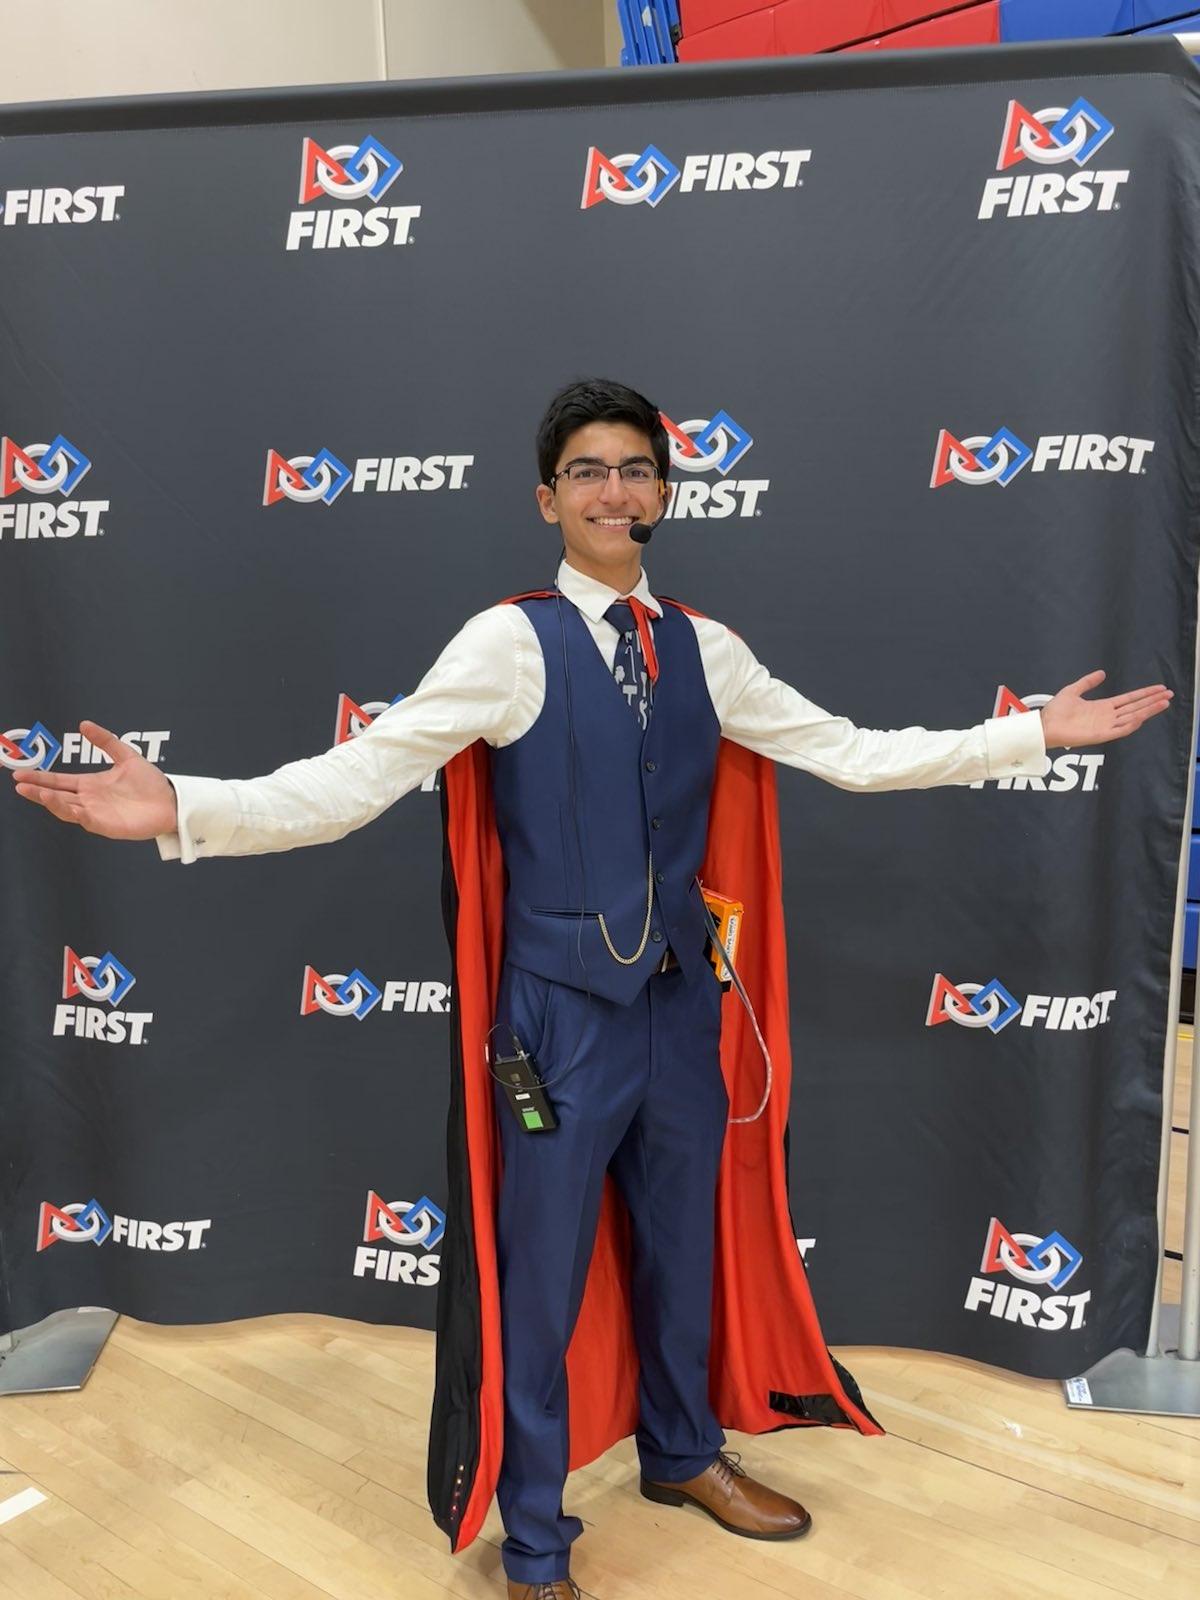
MCs should be eye-catching, so I wanted an outfit that fits the FRC red, white, and blue color scheme. I settled on blue suit pants, a blue vest, and a tie with tool silhouettes over a white button-down shirt; it's essentially a three-piece suit with the blazer removed, with a custom red cape to replace the jacket. I also wanted a personal touch, and decided to add lights to the cape.
A major goal of mine was to make it sleek and self-contained so that the electronics were nearly invisible when the cape was turned off. I found an inexpensive Halloween cape with a black outer layer and a red inner layer. To integrate the lights without them being visible, I cut a small slit on the inside fabric and turned the entire cape inside out. I then attached a 5-volt RGB LED strip along the border of the cape, before inverting the fabric to pull the LED strip inside and completely hide the hardware between the layers.
Power and Electronics
With a rudimentary cape built, it was time to figure out how to power and control it. I powered the initial prototype using a 9V battery for an Arduino Uno and two parallel groups of four AA batteries for the LEDs.
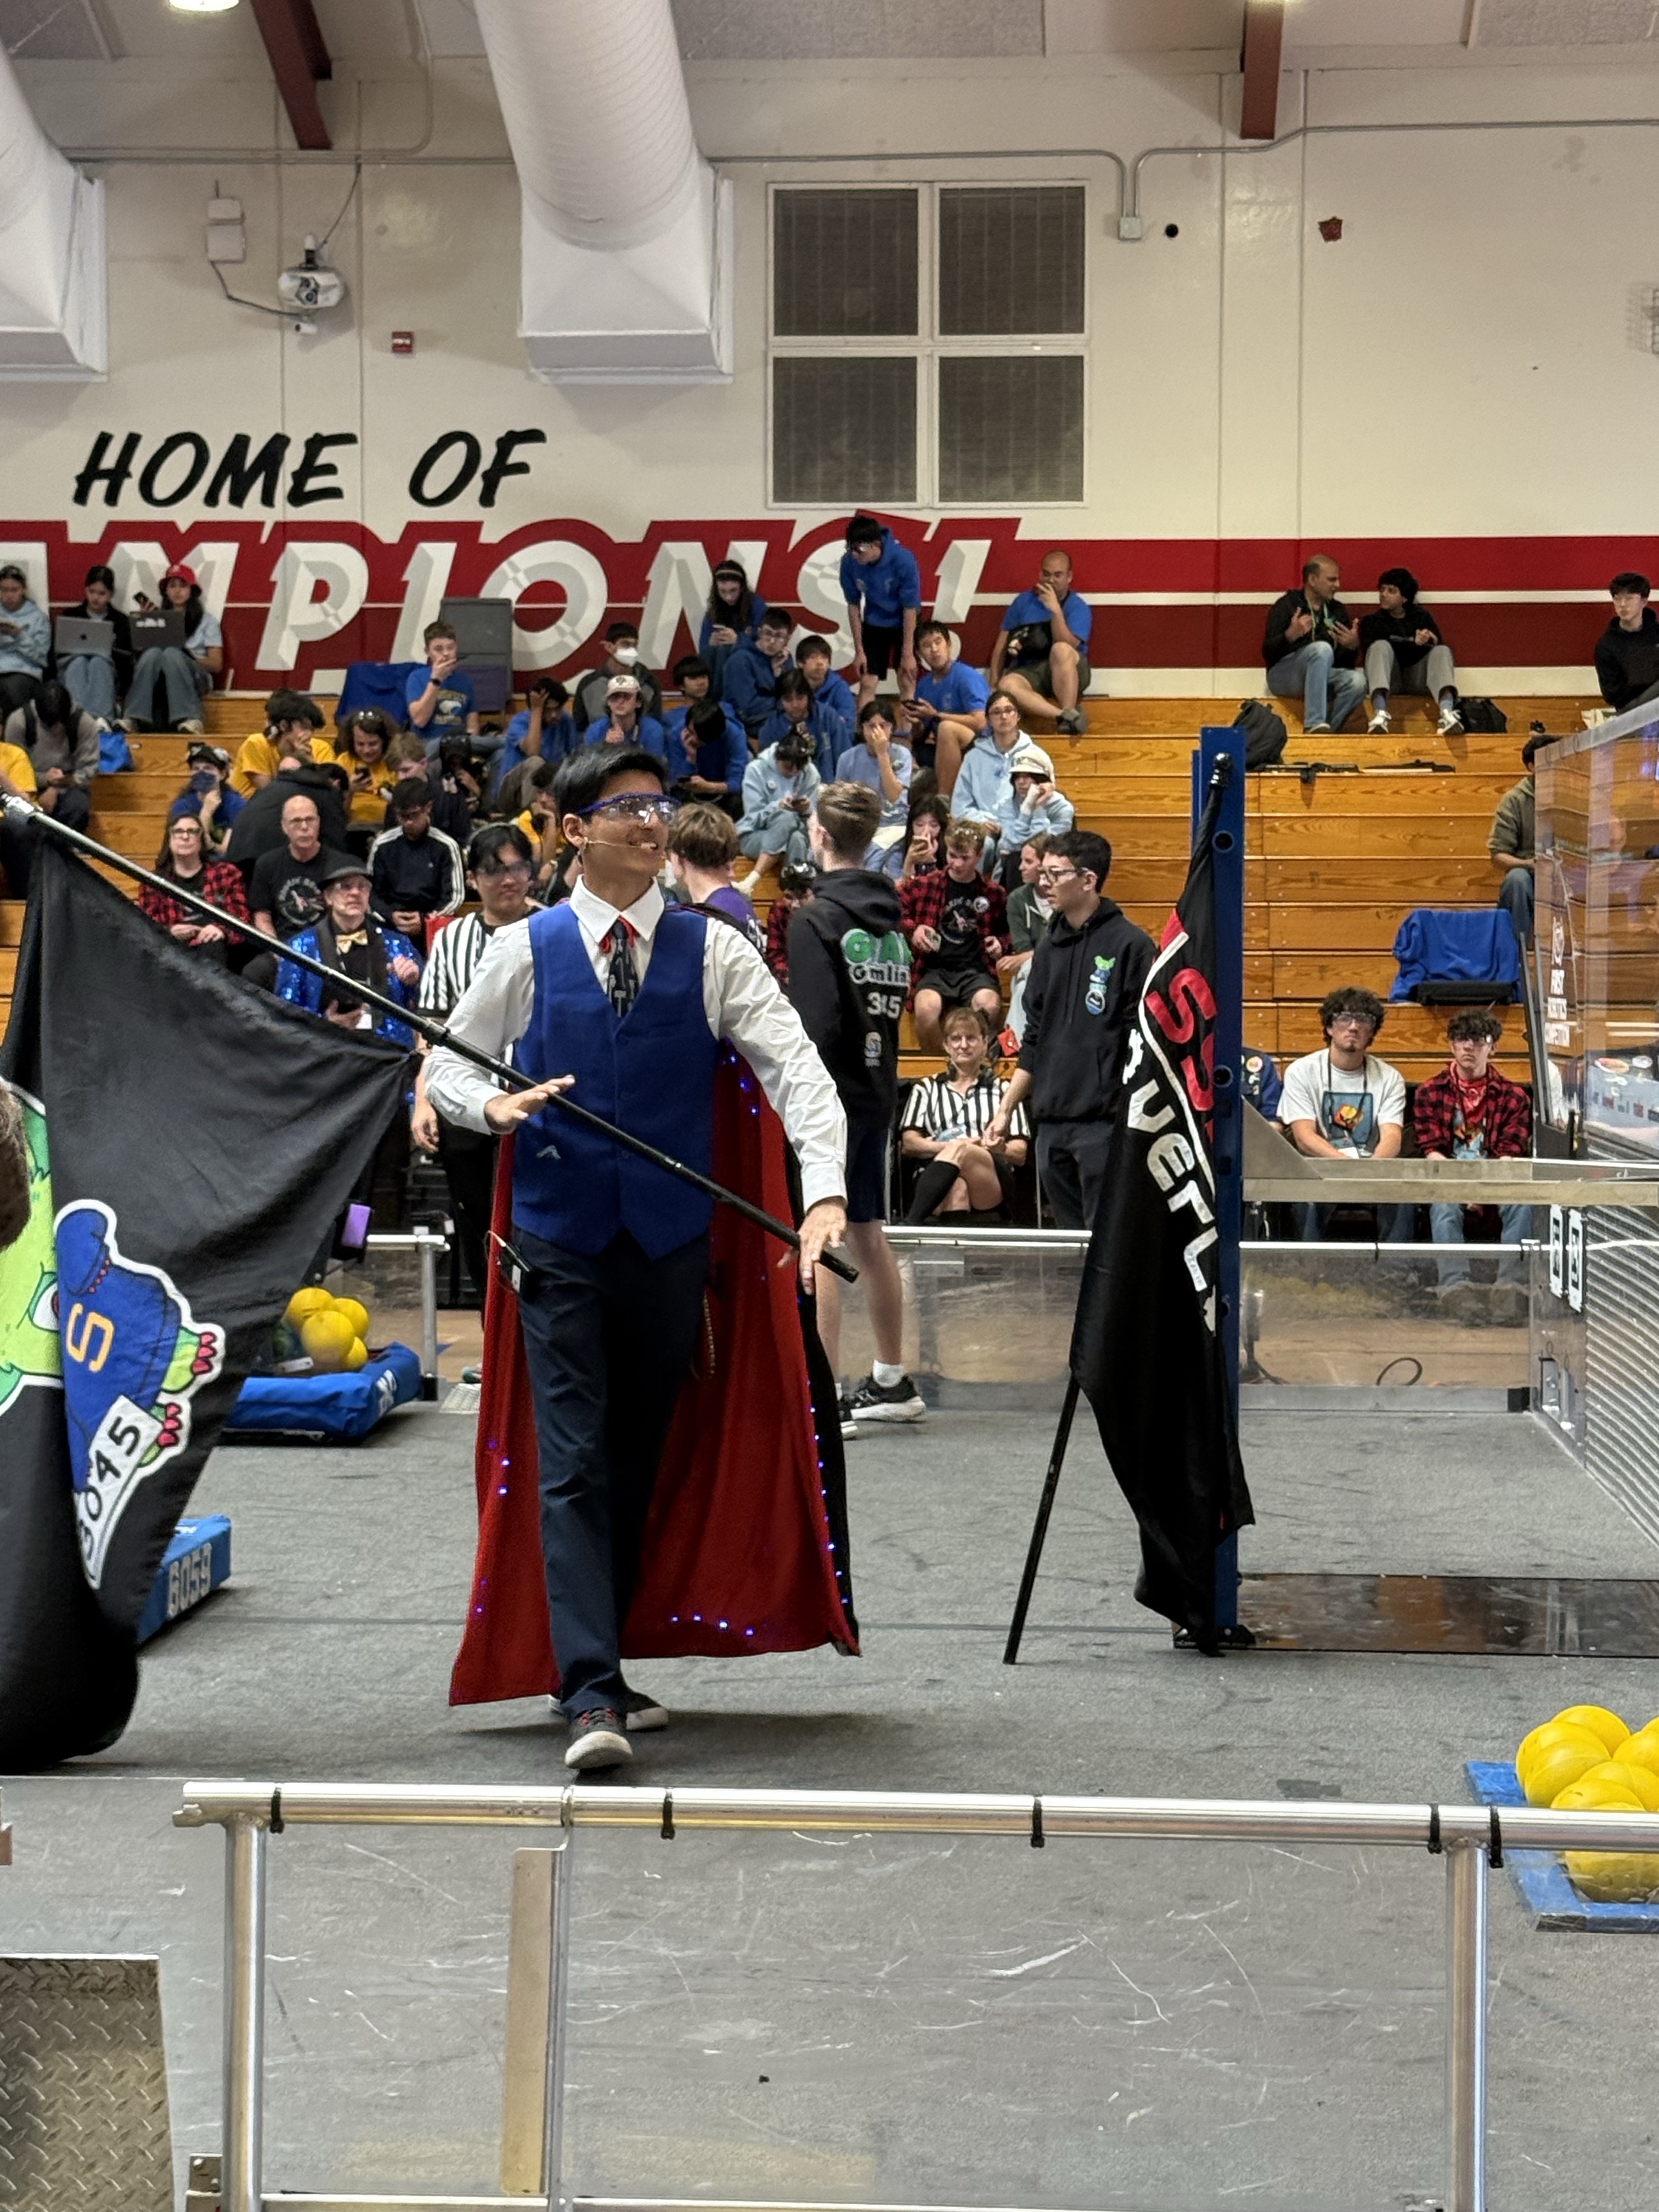
Wiring four 1.5V batteries in series provided nearly 6V to drive the 5V LED strip, and running the groups in parallel supplied enough current. I housed the electronics in a modified cardboard Pinewood Derby box, which I cut, taped, and clipped to my belt. Because the power supply couldn't keep all the LEDs illuminated simultaneously, I programmed a sequential effect where a small group of active lights raced around the cape's border.
Upgrading the Enclosure
Soon after, I started designing the next iteration of the enclosure, which would be much less crude than the cardboard prototype.
I upgraded the power supply to four parallel groups of four AA batteries for additional current, allowing me to extend the light strip and tweak the timing to create a continuous, multi-colored arc across my shoulders. I designed a custom enclosure in CAD and 3D-printed it with built-in belt clips. I also added discrete power switches for the Arduino and LEDs, along with red and blue buttons that flashed the cape for ten seconds to match the respective FRC alliances during team introductions. Ultimately, the 3D-printed belt clips on this version ended up breaking under regular use, prompting a necessary hardware redesign.
Refining the Hardware
While the second version was functional, the enclosure was heavy, relied on single-use batteries, and suffered from the broken clips. For the third version, I planned a complete overhaul.
I transitioned to a smaller and lighter Arduino Nano and removed the internal batteries, replacing them with a USB-PD input. That meant I could simply carry a rechargable USB-C battery in my pocket, both reducing the weight on my belt and allowing for easy recharging or battery swaps without having to take off the cape or disconnect the enclosure.
I also switched to 12-volt RGB LED strips because they run more efficiently at a higher voltage, requiring less current for the same amount of power. When installing the new strips, I distributed them throughout the interior of the cape rather than strictly along the border, allowing the lights to show up anywhere on the back of the fabric.
Controls and Code
With the hardware upgraded, I updated the code and controls. I replaced the buttons with four stateful toggle switches on the top of the enclosure.
The first switch controls main power and triggers a standby animation of random, multi-colored fading sparkles across the cape. These lights are particularly eye-catching as the cape billows out behind me while I walk around the field.
The second and third switches trigger continuous red or blue flashing, which allows me to accurately coordinate the cape's color during team introductions. I walk down the line of the three drive teams for the Red Alliance with the cape flashing red, then walk across the field to introduce the three drive teams on the Blue Alliance with the cape flashing blue. Once the introductions conclude and I step off the field, I flip the switches back to standby and count down the match: "3, 2, 1, go!" Watching six massive machines instantly spring into motion as if triggered by your command is a feeling of power I highly reccomend.
Since three control switches provide eight possible combinations, I programmed the remaining states with various other light patterns. I also designed a detachable plastic connector between the cape and the enclosure, making it much easier to don and shed the cape without getting tangled in cords. Lastly, I added an exposed USB-C port to the enclosure so I could update the code without having to open the case.
I’ve had a great time seeing how my cape adds a touch of excitement to the MC uniform. I've MCed for many competitions and thousands of students, and I hope I've been able to make their experience a little more fun and memorable.